Looking for a telescope to enjoy for years to come? These four tips will help you make a solid choice!
Tip 1: Know what to pay attention to
Tip 2: Choose the right mount
Tip 3: Don’t start with photography right away
Tip 4: Know what to expect
Tip 1: Know what to pay attention to
Telescope ads are often full of fancy terms about the great specifications of a telescope. But which features of a telescope are really important? And what do you look for when choosing one?
The magnification that you can achieve with the telescope is often advertised. The magnification of a telescope is not always important. Many objects that you will observe do not need a high magnification at all. Moreover, the stated values (sometimes up to 500x!) are never achievable with a telescope that is on the surface of the Earth and has to look through the atmosphere.
Many objects that you will observe do not need a high magnification at all
With the vast majority of telescopes, you can change the eyepieces, and thus determine for yourself at what magnification you observe. So you are not bound by one single magnification, and certainly not by the maximum magnification mentioned in advertisements. You can read more about realistic magnifications here.
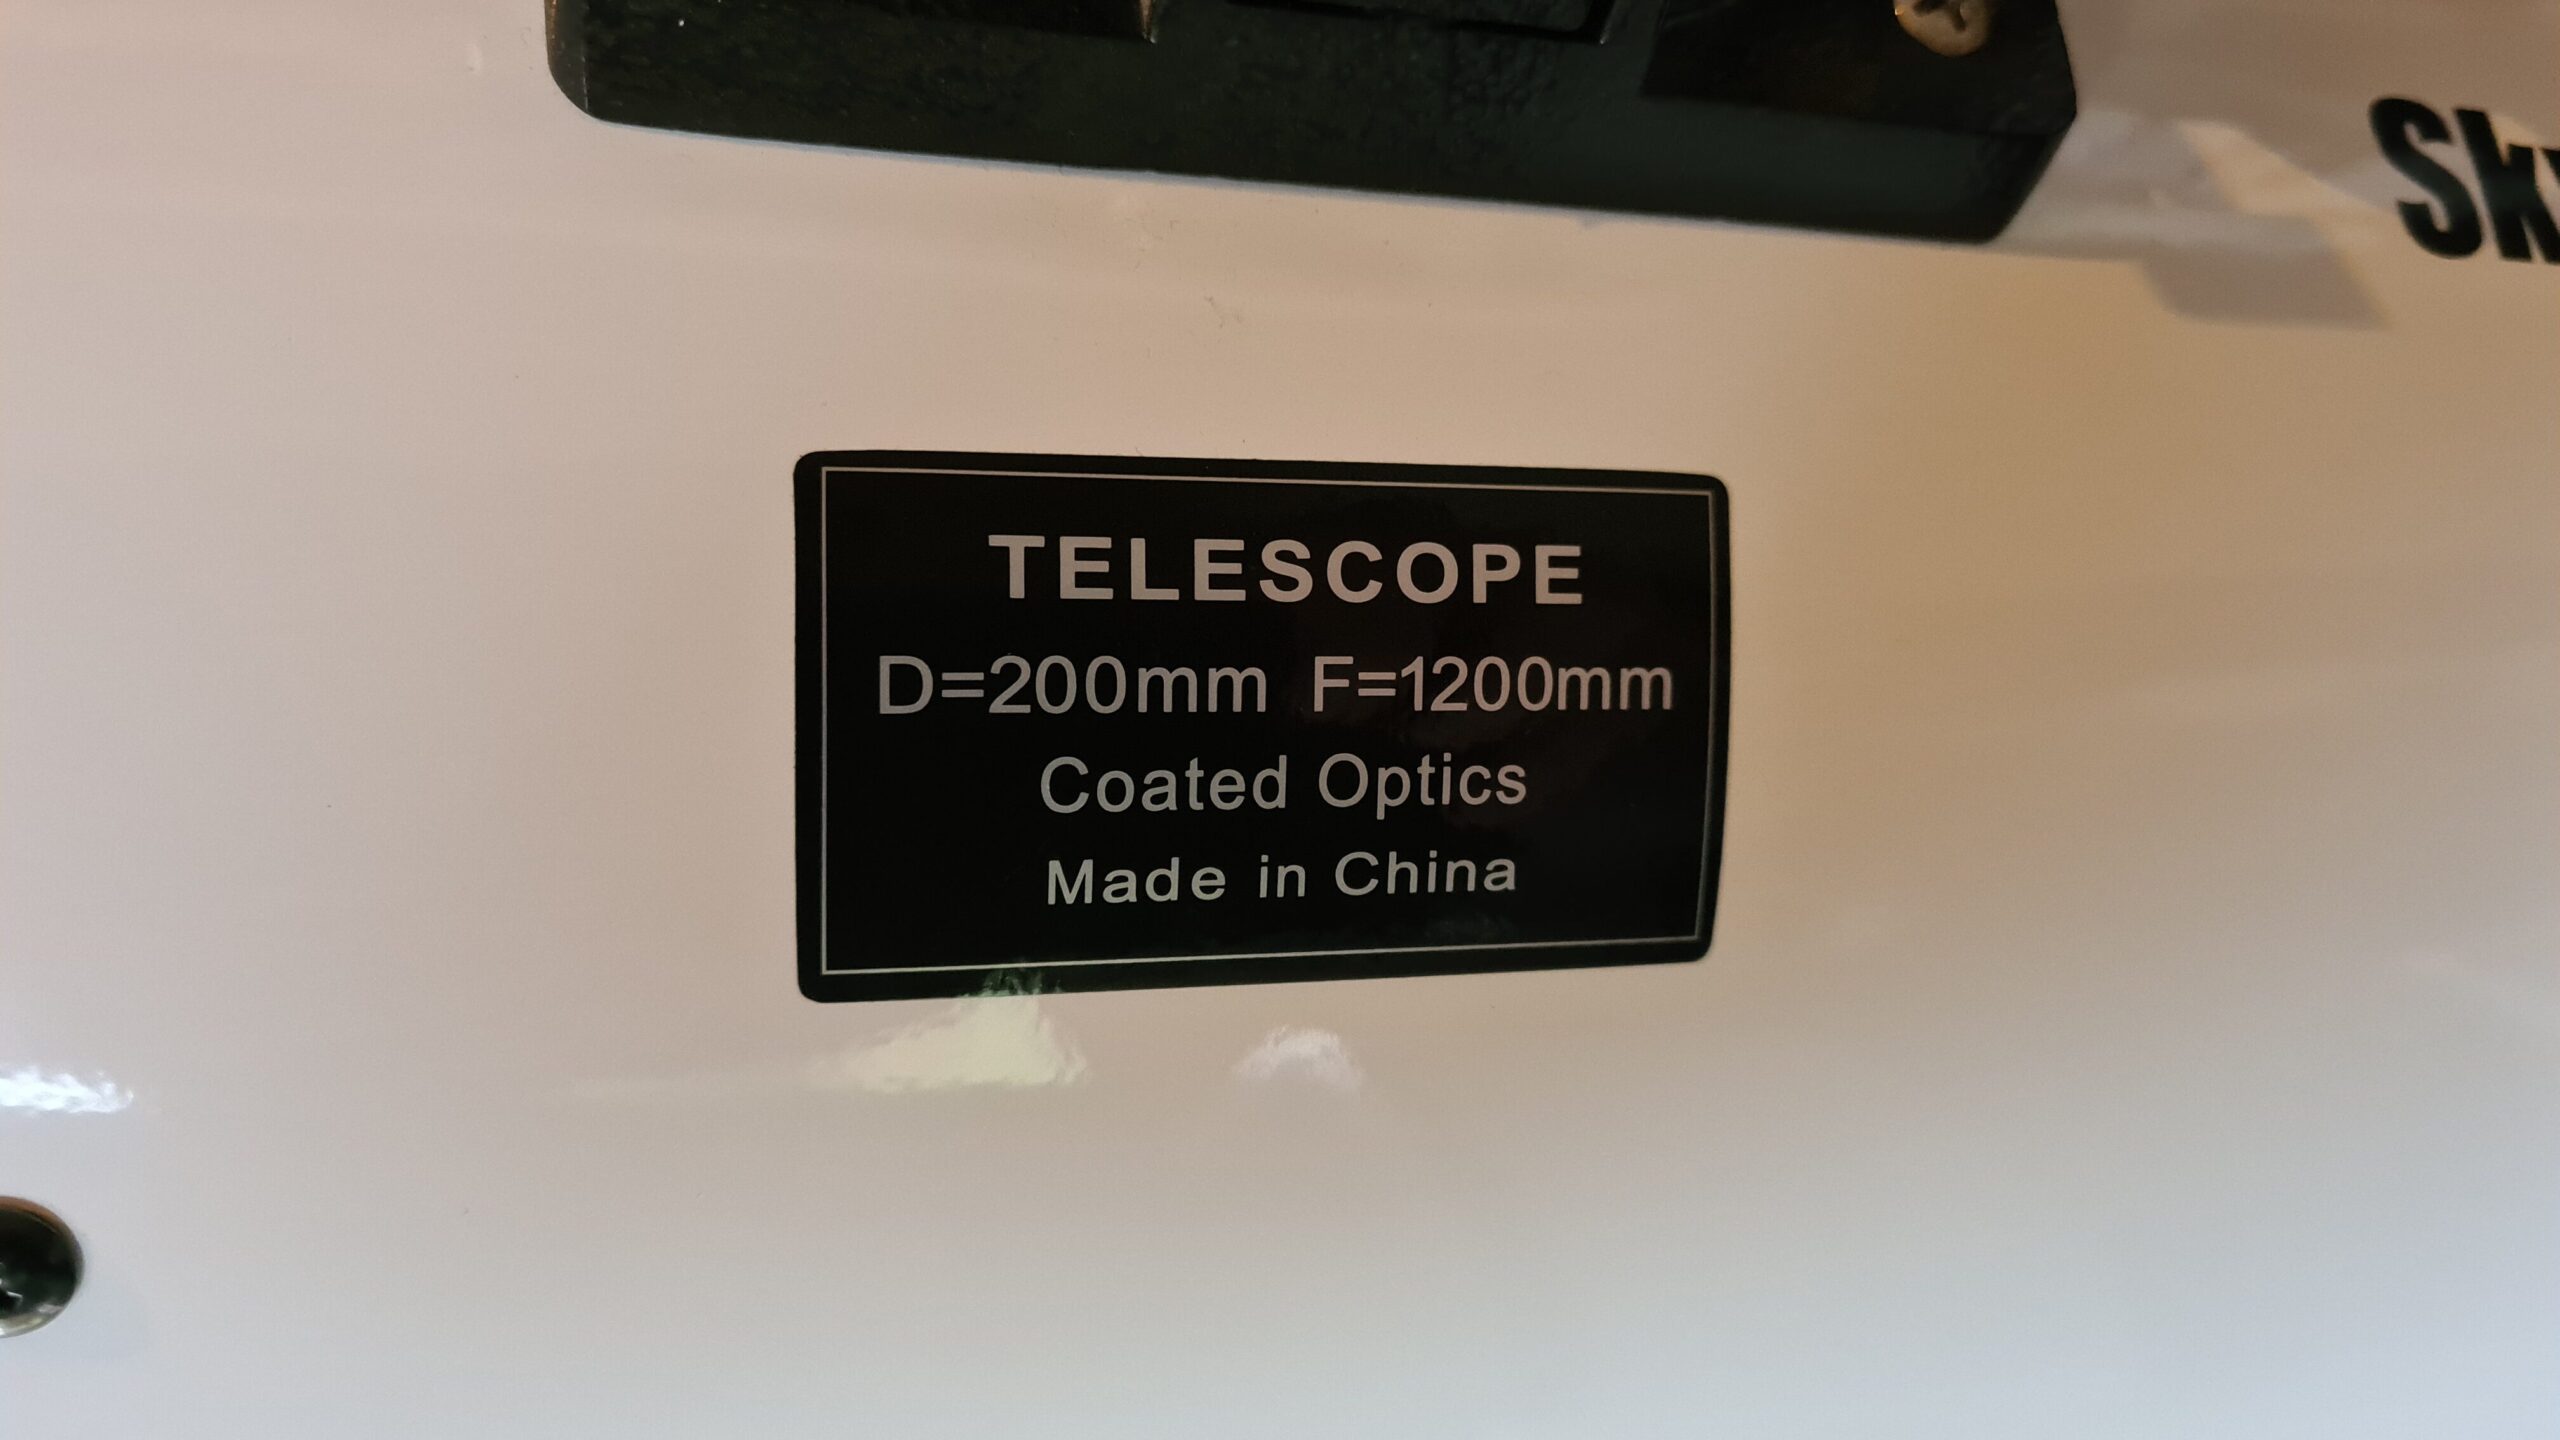
A much more important value when choosing a telescope is the aperture. This is the diameter of the lens or mirror that collects and focuses the light into your eye. The larger the aperture, the more light the telescope is able to ‘catch’ and the fainter the objects you can see. In addition, a telescope with a larger aperture has a higher resolution than a telescope with a smaller tube diameter. This means that you can observe more details with a larger telescope.
The aperture of the telescope is always stated in the specifications in telescope webshops and also on the tube of the telescope itself. You can also compare telescopes by eye: the thicker the tube, the larger the aperture.
So, the bigger the aperture the better? In principle, yes, but pay attention to the size and weight of the telescope. This is often stated in web shops, but it is surprisingly difficult to see on photos how big a telescope actually is. For example, an 8″ dobson, one of the most recommended telescopes for beginners, is 130 cm tall and weighs (tube and base together) 20 to 25 kg!
If the telescope is too heavy to easily carry outside and is therefore hardly used, it is not a useful purchase. The same applies to a telescope that is too large to be easily transported, so you can only use it in your garden or on your balcony where you may have to deal with (a lot of) light pollution or a limited view of the night sky.
If the telescope is too heavy to easily carry outside and is therefore hardly used, it is not a useful purchase
So look for the right balance between the aperture of the telescope and the weight. That balance is different for everyone! Decide what you are able to carry and transport, and how much space you have for storage, and base your choice on that. A visit to a stargazing event or telescope shop anywhere in the country can help you get a good idea of the size and weight of different telescopes.
Tip 2: Choose the right mount
A mount carries the tube of the telescope and allows you to aim it at a celestial body. There are roughly two types of ways to mount a telescope: an alt-azimuth mount or an equatorial mount.
Alt-azimuth mounts
An alt-azimuth mount has two directions of movement: horizontal (azimuth = compass direction, so north, east, etc.) and vertical (altitude = height above the horizon). Operating a telescope on this mount is therefore very easy.
Because the movements in the night sky are different from the movement direction of this mount, you have to adjust the telescope both horizontally and vertically to keep an observing target in view. Because the field of view also rotates, this mount is not suitable for long exposure photography.
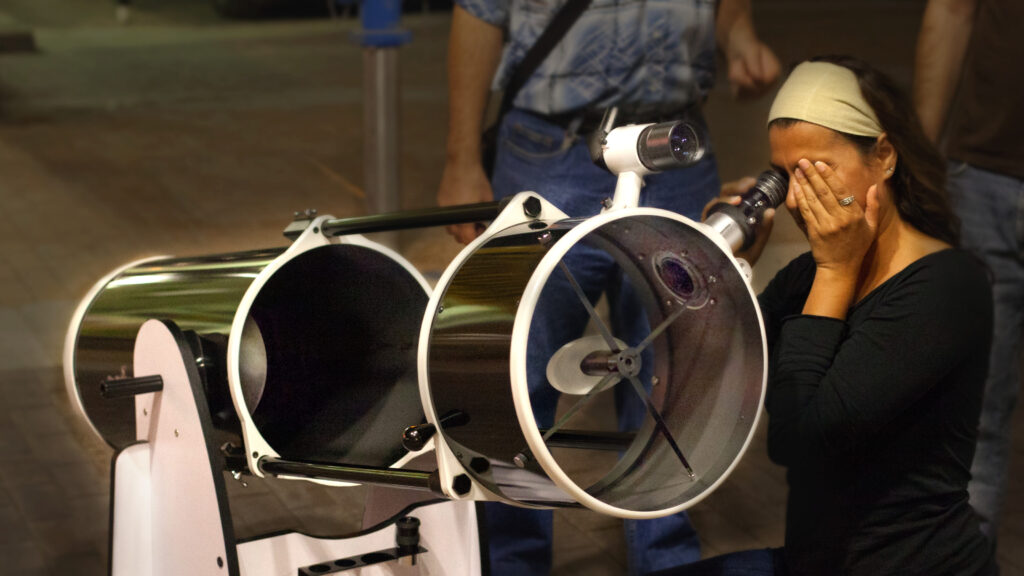
A special form of alt-azimuthal mount is the dobson telescope. With this type of telescope, the tube (always a reflecting telescope) is placed in a kind of rotating container. That sounds very simple and it indeed is. And precisely because the design is so simple, these telescopes are often very affordable! No wonder you often see these kinds of telescopes at amateur astronomers’ observing nights.
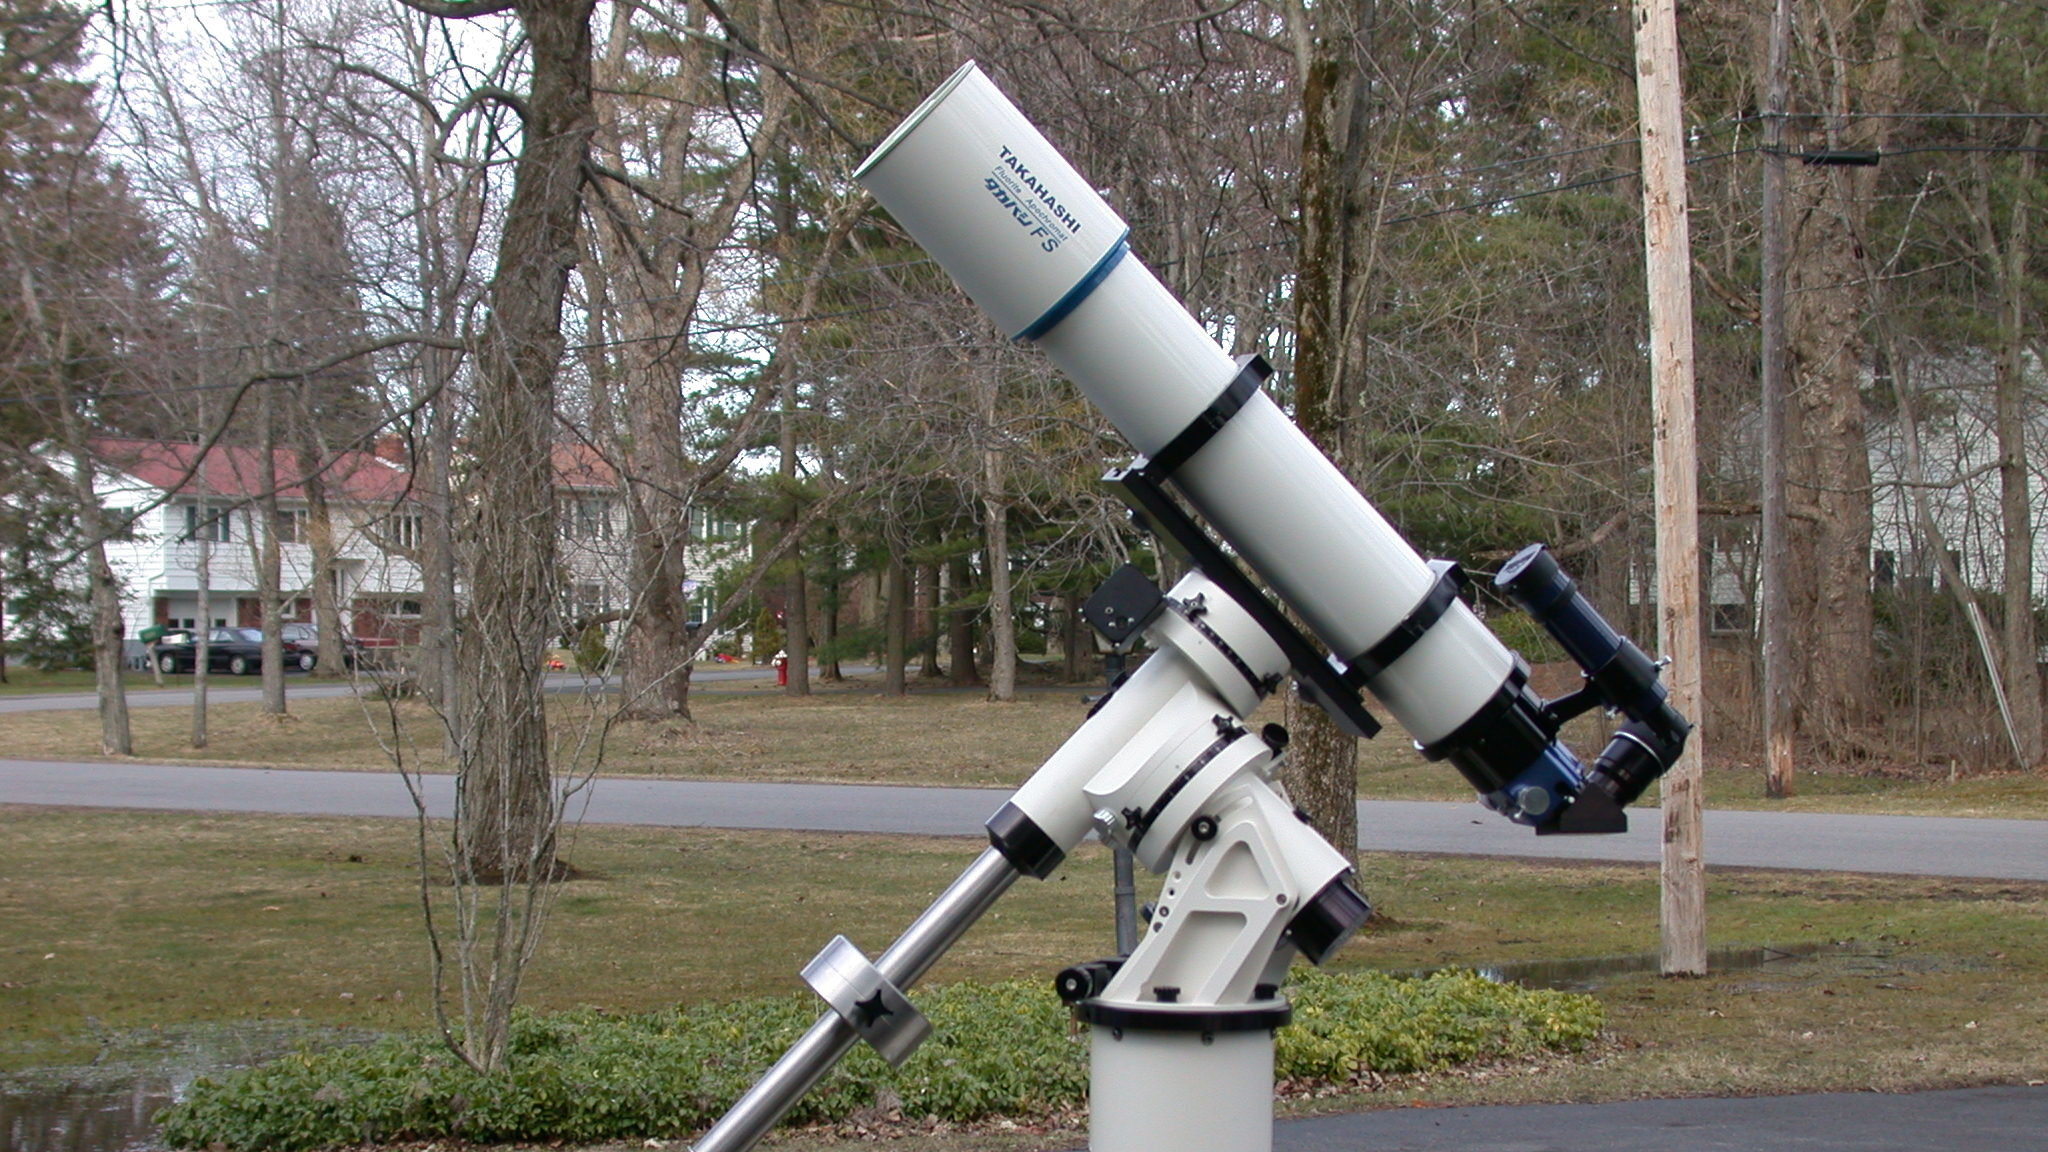
Equatorial mounts
An equatorial mount faces the celestial pole. To keep an observing target in view, you only have to operate one axis. This axis must be aligned fairly accurately with the pole (in the northern hemisphere you can use the North Star for this). This is an easy job with a polar finder.
Because you first have to properly align an equatorial mount, it is a bit more complicated to set up this mount properly compared to an alt-azimuth mount. It therefore takes a little more time before you can start observing. In addition, you need counterweights to balance the weight of the telescope tube.
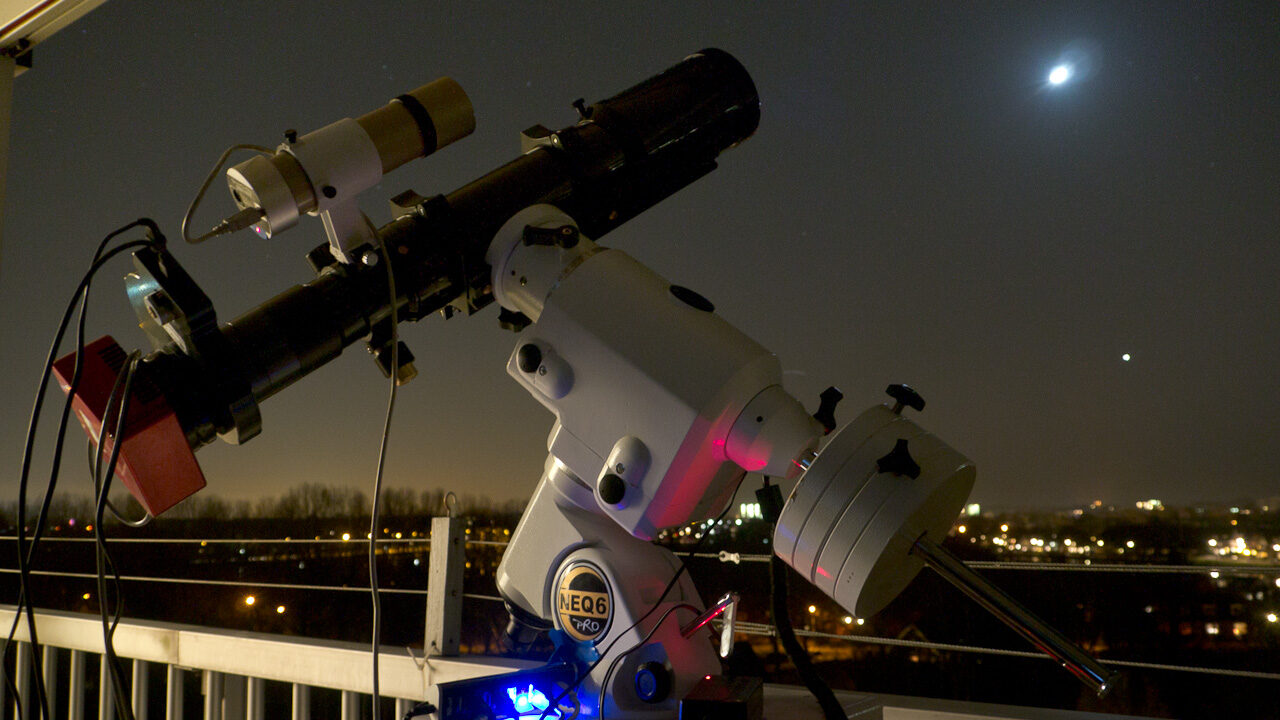
Computerised mounts
Some telescope mounts are equipped with a computer. These help you find celestial objects in the sky using a hand controller or your smartphone. There are also mounts that are equipped with motors with which you can automatically find observing targets and keep them in view. That can be super handy, but keep in mind that with such telescopes you have to take a lot of extra weight with you, you need an electricity source and above all that a motor or computer makes the telescope as a whole a lot more expensive. The more you do by hand, the cheaper the telescope, and therefore the more of your budget is left to invest in the quality and aperture of the telescope itself.
By the way, don’t worry about finding objects manually and keeping them in view, that’s a trick you’ll learn in no time. A computerised mount is really not necessary for that.

Advice
For novice observers, a manual alt-azimuth mount, such as that of a dobson telescope, is recommended. You do not have to perform any alignment: you can put the telescope down and observe immediately! In addition, all movements you perform with the telescope are intuitive. You don’t have to follow an object very accurately for hours for visual observation, so adjusting your telescope every now and then to keep your observing target in view is not such a problem. Moreover, you are not dependent on electricity.
Tip 3: Don’t start with photography right away
Of course you can try to take a picture through a telescope of bright objects with your smartphone. That way you can capture the craters on the moon, the moonlets of Jupiter and even the rings of Saturn.
But if you really want to get serious about photographing planets, nebulae and galaxies, then you are entering a completely different area of the hobby.
Photography using a telescope requires different equipment than what you use for visual observation
Photography using a telescope requires different equipment than what you use for visual observation, a different type of telescope and, moreover, an extremely sturdy (and for that reason expensive) mount.
My advice is therefore to start with visual observing. If you’ve got the hang of it and can’t get enough of holding your smartphone near the eyepiece to take pictures, you might want to find out if astrophotography is for you.
Tip 4: Know what to expect
Looking visually through a telescope is an entirely different experience than what you see when you google pictures of celestial objects. This is partly because our eyes work very differently from a photo camera. It is good to be aware of this before buying a telescope. Read all about what to expect from stargazing using a telescope in this article.

Conclusion
With these 4 tips you have gotten a few suggestions on what to pay attention to when buying a telescope. One that you can enjoy for years to come!
Are you curious about quality telescopes that fit into your budget? Have a look here for suggestions!
Do you want to stay on top of events in the night sky? Follow Waddensky on Instagram or Twitter or download our app Nightshift!